Docker 入门教程(八)使用 Dockerfile 制作 Linux、NGINX、MySQL、PHP 镜像
2020-10-12 1 技术动态 407
我们接下来就用 Dockerfile 制作一套简单的环境;
Linux
我们这里以 Ubuntu 为示例;
默认的官方镜像比较基础有些地方不一定适合我们使用;
我们这里对 Ubuntu 做一些简单的修改;
创建一个 Ubuntu 目录;
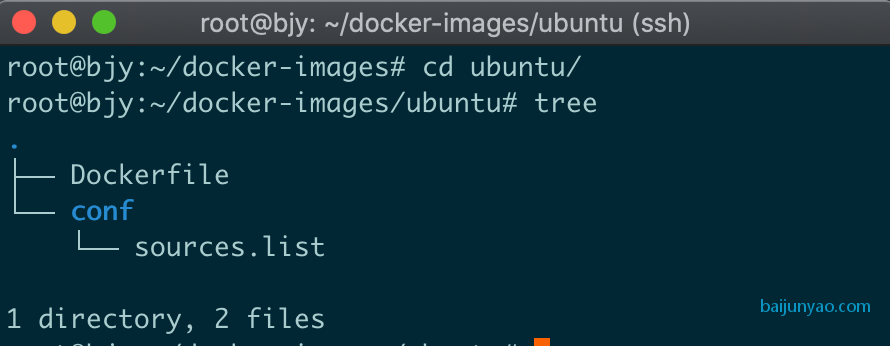
我这里创建了两个文件;
conf/sources.list
deb http://mirrors.aliyun.com/ubuntu/ bionic main restricted universe multiverse
deb-src http://mirrors.aliyun.com/ubuntu/ bionic main restricted universe multiverse

deb http://mirrors.aliyun.com/ubuntu/ bionic-security main restricted universe multiverse
deb-src http://mirrors.aliyun.com/ubuntu/ bionic-security main restricted universe multiverse

deb http://mirrors.aliyun.com/ubuntu/ bionic-updates main restricted universe multiverse
deb-src http://mirrors.aliyun.com/ubuntu/ bionic-updates main restricted universe multiverse

deb http://mirrors.aliyun.com/ubuntu/ bionic-proposed main restricted universe multiverse
deb-src http://mirrors.aliyun.com/ubuntu/ bionic-proposed main restricted universe multiverse

deb http://mirrors.aliyun.com/ubuntu/ bionic-backports main restricted universe multiverse
deb-src http://mirrors.aliyun.com/ubuntu/ bionic-backports main restricted universe multiverse
Bash
Copy
官方的源在国内比较慢;
我在上面这个文件中定义了个镜像配置;
Dockerfile
FROM ubuntu:bionic

ENV TZ="Asia/Shanghai"

COPY conf/sources.list /etc/apt/sources.list

RUN set -ex \
    && ln -sf /usr/share/zoneinfo/${TZ} /etc/localtime \
    && echo "${TZ}" > /etc/timezone \
    && apt-get update \
    && apt-get install -y locales \
    && rm -rf /var/lib/apt/lists/* \
    && rm -rf /var/cache/apt \
    && localedef -i en_US -c -f UTF-8 -A /usr/share/locale/locale.alias en_US.UTF-8

ENV LANG en_US.utf8
Bash
Copy
第一行使用了 FROM 继承官方的 Ubuntu 的 bionic 版本;
接着使用了 ENV 定义了个时区变量 TZ ;
好处是如果要换其他时区;
只需要改变量就行了;
不需要全文搜索替换了;
接着使用 COPY 命令替换系统的镜像设置;
再下面使用了 RUN 执行命令设置时区; 其中有的 rm -rf 用来清理执行命令过程中产生的缓存文件;
这样可以缩小镜像体积;
最后定义下 utf8 字符集;
这样一个自定义的镜像就完成了;
build 一个版本推送;
docker build -t baijunyao/ubuntu .
docker push baijunyao/ubuntu
NGINX
上面已经有了一个 Linux 系统了;
我们可以基于上面的 Linux 编译安装 NGINX ;
但是如果没有特殊需求更省事的方案是直接继承官方的 NGINX;
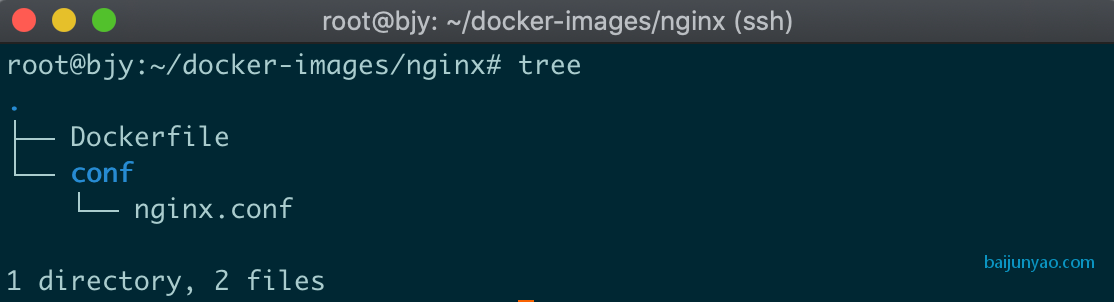
我们先定义一份自己的 NGINX 配置文件;
conf/nginx.conf
user  www-data;
worker_processes  1;

error_log  /var/log/nginx/error.log warn;
pid        /var/run/nginx.pid;


events {
    worker_connections  1024;
}


http {
    include       /etc/nginx/mime.types;
    default_type  application/octet-stream;

    log_format  main  '$remote_addr - $remote_user [$time_local] "$request" '
                      '$status $body_bytes_sent "$http_referer" '
                      '"$http_user_agent" "$http_x_forwarded_for"';

    access_log  /var/log/nginx/access.log  main;

    sendfile        on;
    #tcp_nopush     on;

    keepalive_timeout  65;

    #gzip  on;

    include /etc/nginx/conf.d/*.conf;
}
Bash
Copy
Dockerfile
FROM nginx:mainline

COPY conf/nginx.conf /etc/nginx/nginx.conf

RUN set -ex \
    && rm -rf /etc/nginx/conf.d/default.conf
Bash
Copy
上面这些命令我们都认识;
就这么轻松的又制作了一份镜像;
MySQL
同样的套路来制作一个 MySQL 镜像;
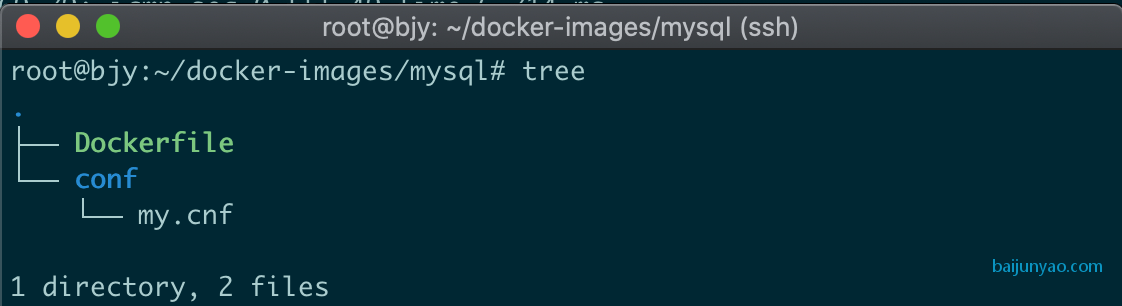
conf/my.cnf
[mysqld]
default-authentication-plugin=mysql_native_password
Bash
Copy
Dockerfile
FROM mysql:8.0

COPY conf/my.cnf /etc/mysql/conf.d/my.cnf
Bash
Copy
这个镜像就更简单了就替换了下配置项就完事了;
PHP
终于到了PHP 了;
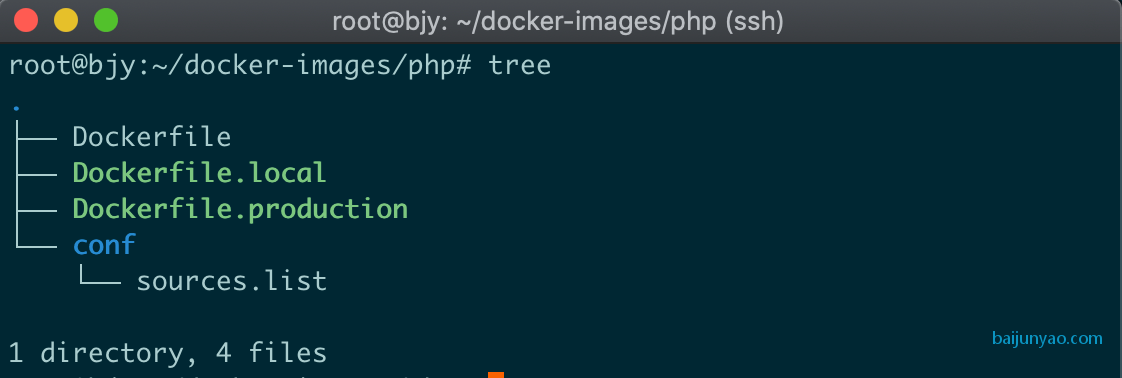
这里定义了 3 个 Dockerfile ;
我们来分别了解用途;
conf/sources.list
deb http://mirrors.ustc.edu.cn/debian/ buster main contrib non-free
deb-src http://mirrors.ustc.edu.cn/debian/ buster main contrib non-free

deb http://mirrors.ustc.edu.cn/debian/ buster-updates main contrib non-free
deb-src http://mirrors.ustc.edu.cn/debian/ buster-updates main contrib non-free

deb http://mirrors.ustc.edu.cn/debian-security/ buster/updates main contrib non-free
deb-src http://mirrors.ustc.edu.cn/debian-security/ buster/updates main contrib non-free
Bash
Copy
官方的 PHP 镜像是基于 debian 制作的;
我们这里再来个 debian 的镜像设置;
Dockerfile
FROM php:7.3-fpm

COPY conf/sources.list /etc/apt/sources.list

ADD https://mirrors.aliyun.com/composer/composer.phar /usr/local/bin/composer

RUN set -xe \
    && apt-get update \
    && apt-get install -y --no-install-recommends \
        libfreetype6-dev \
        libjpeg62-turbo-dev \
        libpng-dev \
        libzip-dev \
    && docker-php-ext-configure gd --with-freetype-dir=/usr/include/ --with-jpeg-dir=/usr/include/ \
    && docker-php-ext-install gd pdo_mysql zip exif \
    && pecl install -o -f redis-5.0.2 \
    && docker-php-ext-enable redis \
    && chmod a+x /usr/local/bin/composer \
    && rm -rf /tmp/pear \
    && rm -rf /var/lib/apt/lists/*

WORKDIR /app
Bash
Copy
FROM 和 COPY 我们前面已经用了;
这里来看 ADD 方法;
因为在国内下载 composer.phar 文件比较慢;
这里直接使用了 ADD 下载阿里云的镜像文件;
再下面我们安装了一些常用的 PHP 扩展;
安装镜像的方式详细的可以从官方镜像文档了解 https://hub.docker.com/_/php 最后使用了 WORKDIR 定义工作目录;
Dockerfile 中定义的是通用的扩展;
还有一些扩展一般用于指定环境;
比如说为了跑 Laravel 的 Dusk 测试;
在本地环境中还需要安装 pcntl ;
所以这里创建了个 Dockerfile.local ;
FROM baijunyao/php

RUN docker-php-ext-install pcntl
Bash
Copy
生产环境一般会安装 opcache 扩展;
这里就又创建了个 Dockerfile.production 文件;
FROM baijunyao/php

RUN docker-php-ext-install opcache
Bash
Copy
好了; 至此 LNMP 的简单镜像我们都制作了; 下篇文章我们来讲解下怎么组合这些镜像来跑代码;
相关文章